How to Install Engineered Flooring on Concrete
Hardwood floors continue to grow in popularity, but not every home is suitable for traditional solid hardwood. Concrete subfloors such as slabs or basements make nail-down installations difficult or impossible. Fortunately, engineered hardwood offers the same natural wood look with greater flexibility.
Because engineered flooring is more stable and doesn’t require nails, it can be installed on concrete at any grade level, including basements, as long as moisture levels are properly managed.
Step 1: Prepare the Concrete Subfloor
Before installation, make sure the concrete surface is clean, dry, and flat. Over time, concrete can crack or chip, which can prevent flooring from laying correctly.
- Fill cracks or low spots with a cement patch or self-leveling underlayment
- If you have radiant heat, turn it off 24 hours before, during, and after installation
Step 2: Test for Moisture
Concrete naturally holds moisture, especially in slab foundations and basements. Excess moisture can weaken adhesives and cause long-term floor issues, so moisture testing is essential before installation.
Step 3: Apply a Moisture Barrier
If moisture is present, apply a moisture mitigation coating to the concrete surface. These topical treatments reduce moisture transmission and protect the adhesive bond.
Be sure to apply the correct amount. If the coating is too thin, moisture can pass through and become trapped beneath the flooring, leading to adhesive failure and potential damage.
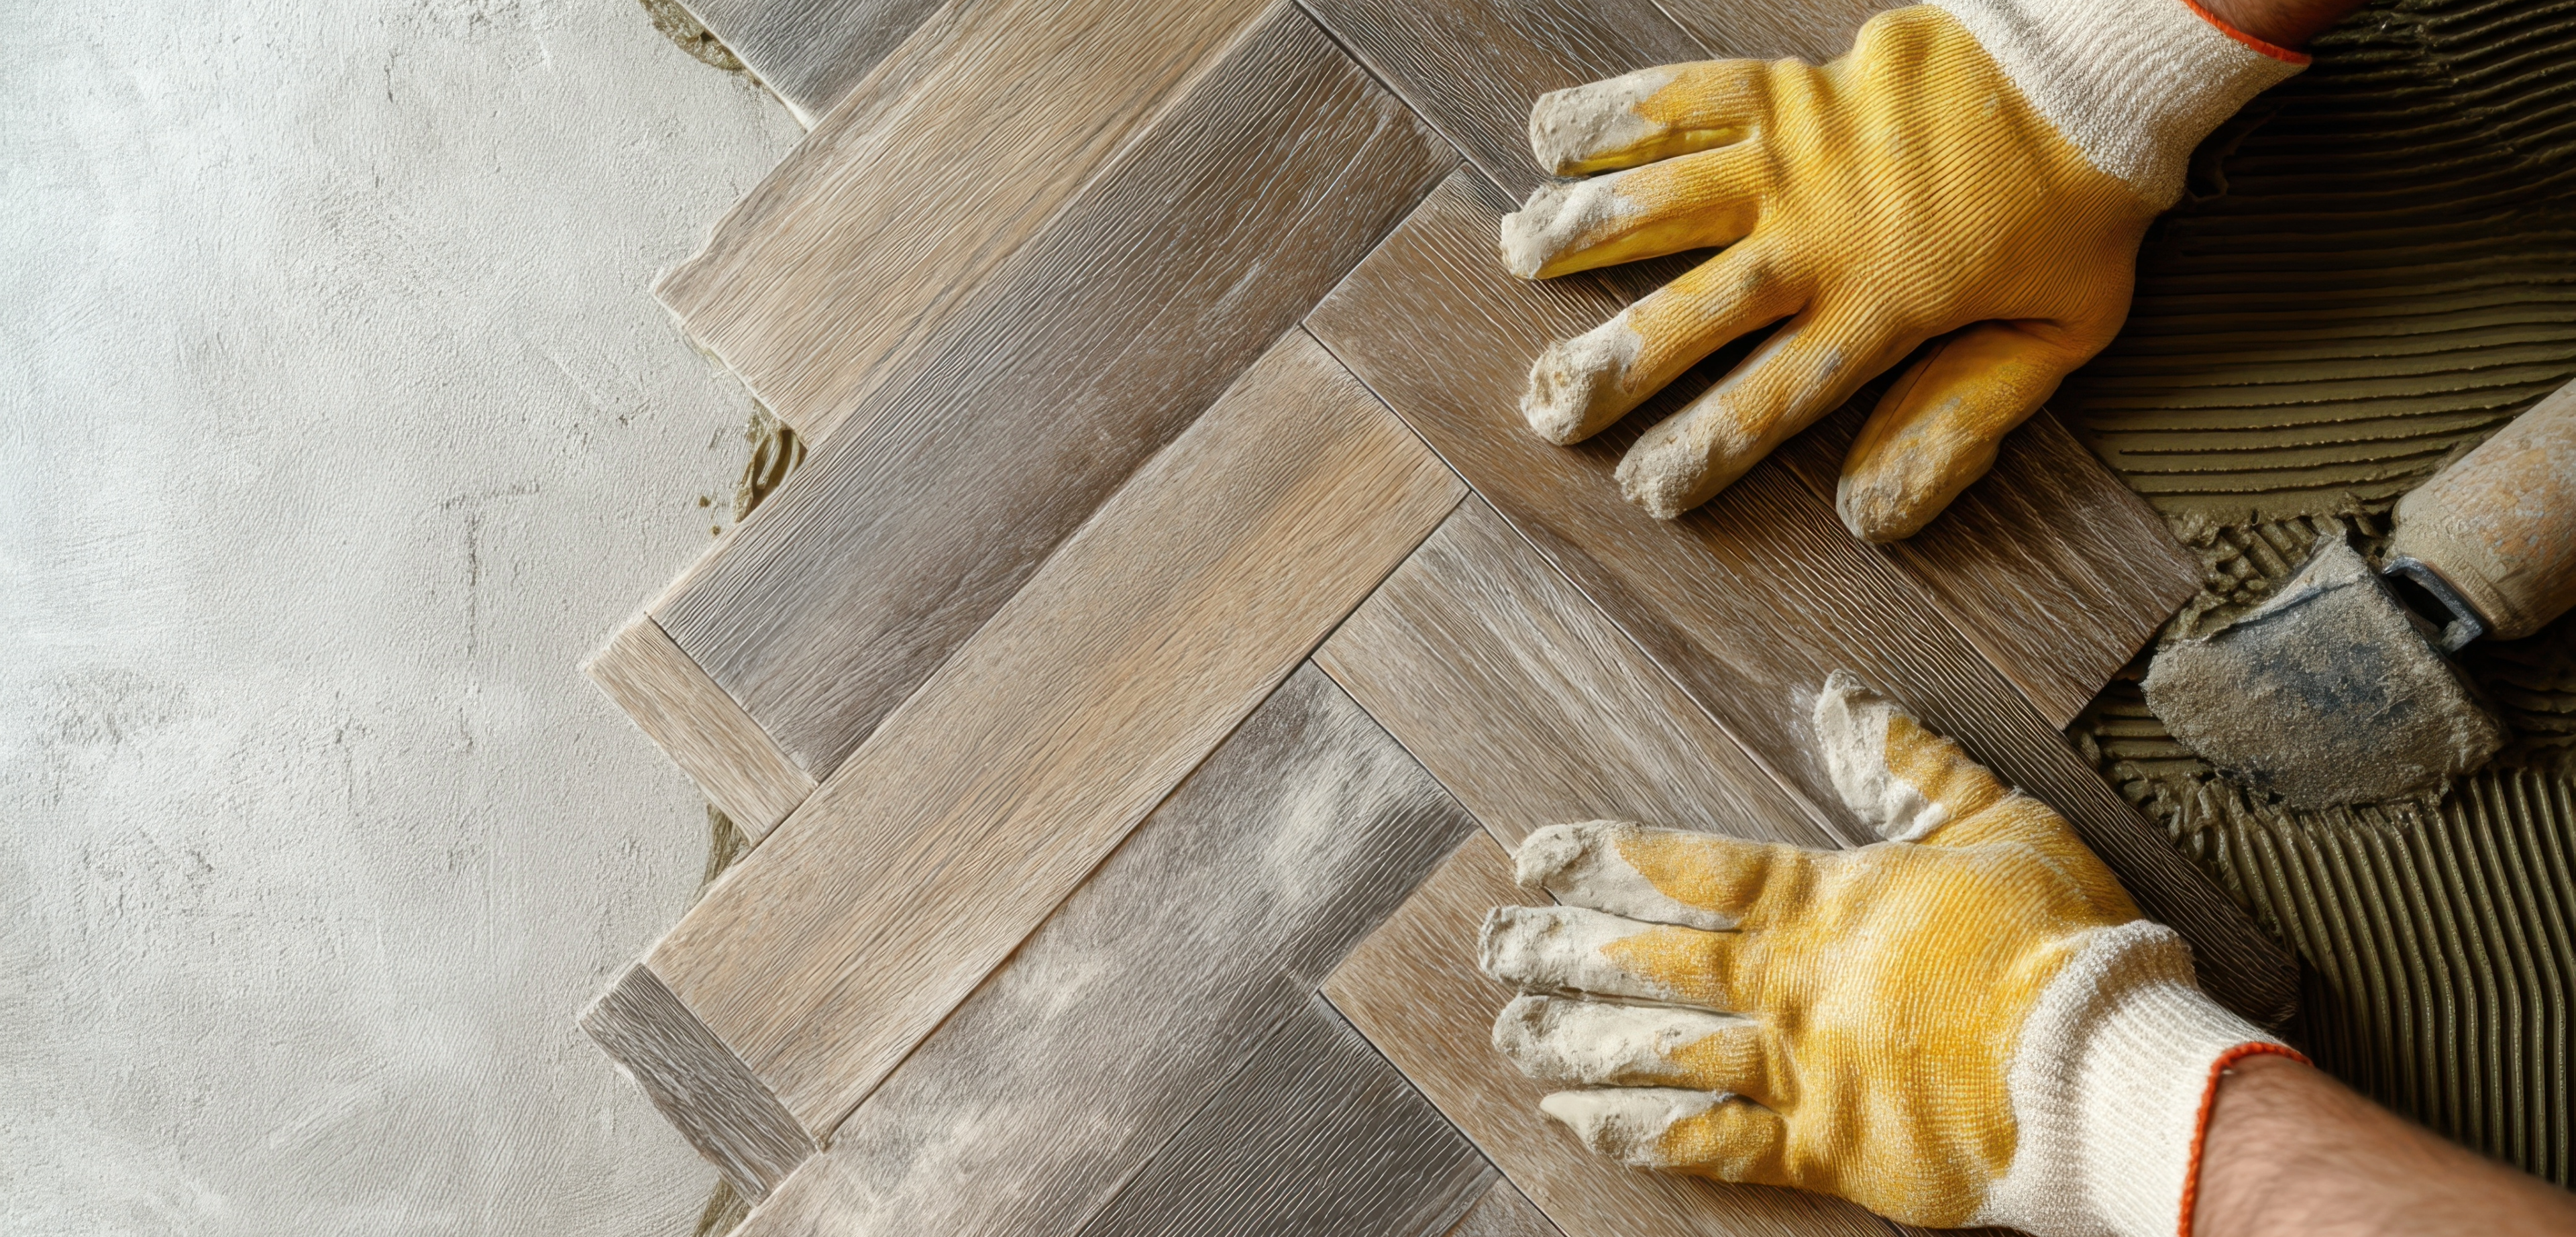
Step 4: Spread the Adhesive
Once the moisture barrier has fully cured, apply a flexible, moisture-free adhesive designed for both wood and concrete.
- Use a notched trowel (size specified by the adhesive manufacturer)
- Spread adhesive evenly and begin installing immediately
Step 5: Install the Flooring
Start with the tongue side facing the center of the room, and complete the first row before moving on. It will provide alignment and stability for the rest of the floor.
Leave expansion gaps between the flooring and the walls as recommended by the manufacturer. Use small spacers or wood blocks to keep gaps consistent during installation.
Step 6: Roll and Cure
After installation, roll the entire floor with a 100–150 lb roller to ensure full adhesive transfer.
- Avoid foot traffic for 16–24 hours
- Follow adhesive curing recommendations before moving furniture back
Final Thoughts
Installing engineered hardwood on concrete is a reliable way to achieve the beauty of real wood, even in basements, slab homes, and other challenging spaces. With proper subfloor prep, moisture control, and installation techniques, engineered flooring delivers long-lasting performance and comfort underfoot.
If you’re planning a project and want help choosing the right floor, adhesive, or installation method, our team is here to help. Contact us today to get expert guidance and find the perfect engineered hardwood for your space.